Courses List

0
No products in the cart.

Clinical SWL Education for Physicians

Develop deeper understanding of patient selection, imaging, stone targeting, treatment planning, and outcome-focused SWL practice.

Your Step-by-Step Guide to Kidney Stone Care

Quick Algorithm (at a glance)

  • Confirm Indication → size, density (HU), location, anatomy.
  • Favorable Anatomy? (esp. lower pole) → infundibulopelvic angle, infundibular length/width.
  • Pre-SWL Prep → anti-coag status, infection control, analgesia plan, hydration.
  • Coupling → generous gel, no bubbles; re-gel every reposition.
  • Targeting → align imaging/isocenter with therapeutic focus; confirm respiratory excursion.
  • Start Low & Slow → gradual ramp; low frequency (1 Hz) early.
  • Monitor & Re-center every 50–100 shocks; watch fragment plume.
  • Adjust energy/frequency by comfort, fragmentation signs, and tissue response.
  • Stop Criteria → adequate fragmentation, rising pain, arrhythmia, poor coupling.
  • Post-SWL → strain urine, counsel colic/hematuria, α-blocker when appropriate, follow-up imaging.

Patient & Stone Selection (keys)

Best candidates: ≤10–15 mm renal/upper ureter stones with HU ≤1000 and favorable anatomy.

Lower pole: evaluate IPA, infundibular length/width; SWL works if drainage is favorable.

Challenging: very hard stones (HU >1000–1200), large burden, unfavorable lower-pole anatomy, severe obesity (targeting/coupling), skeletal deformity.

Diagram showing the formation of kidney stones in the urinary tract.

Pre-Procedure Checklist

Imaging: NCCT (size, side, HU, skin-to-stone distance), note anatomy.

Labs: UA/UCx if symptomatic; treat infection before SWL.

Medicines: pause/bridge anti-coagulants per policy; α-blocker plan for distal ureter stones or heavy fragment load.

Analgesia: multimodal; ensure patient can breathe normally for stable targeting.

Consent & Counseling: colic, hematuria, steinstrasse risk; hydration plan.

Coupling Fundamentals

Use liberal gel, remove micro-bubbles, avoid dry “hot spots.”

Re-apply after any reposition.

If using a membrane/balloon interface, check for folds or trapped air.

Targeting & Imaging

Prefer inline/iso-centric alignment of imaging axis and shock path when available.

Re-center with every respiratory cycle initially; coach shallow breathing.

Use ultrasound or fluoro as primary; swap if visibility drops (e.g., bowel gas, bone overlap).

Pause to re-target after any patient movement.

Energy Delivery: Ramping & Frequency

Principles

  • Start low → allow renal vasoconstrictive protection and reduce parenchymal injury.
  • Ramp gradually → improve fragmentation efficiency and tolerance.
  • Lower frequency (≈60 shocks/min; 1 Hz) improves fragmentation vs. high frequency, especially early.

In-Procedure Monitoring & Adjustment

Fragment plume/contrast change → positive sign; continue at current settings.

No progress after 300–500 shocks: re-image; check coupling; try lower frequency or slight energy increase; ensure true focus on stone.

Arrhythmia/pain: switch to ECG-gating if available; reduce energy/frequency; reassess

Special Populations

Pediatrics: favor fine energy graduation (small step sizes), meticulous coupling, and low-frequency priming; minimize fluoroscopy, prefer US when feasible.

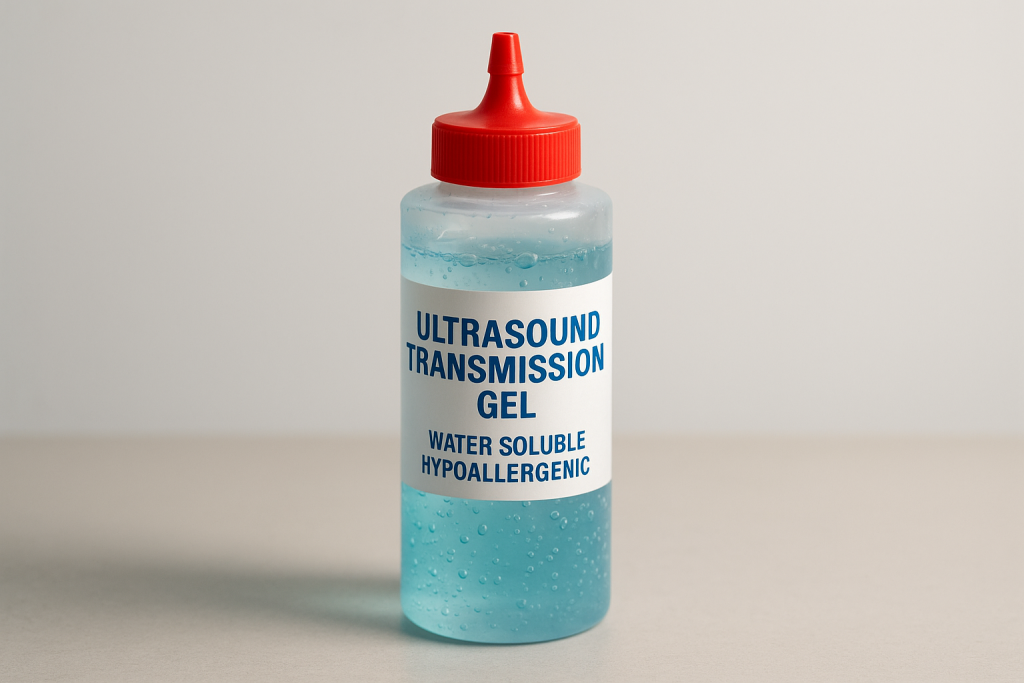
Obese patients: anticipate higher skin-to-stone distance—optimize gel pool, consider US targeting; adjust table focus depth; manage respiratory motion.

Anticoagulation risk / solitary kidney: stricter injury threshold; maintain conservative ramp; close post-op monitoring.

Complication Mitigation

Renal hematoma: slow ramp, avoid unnecessary max energy, control BP, ECG gating if ectopy.

Steinstrasse: counsel high hydration; consider α-blocker for high fragment load; schedule timely follow-up.

Infection/sepsis: ensure pre-SWL urine sterility; abort if fever/chills.

Post-Procedure Care

  • Hydration and analgesia.
  • Strain urine and log passage.
  • When to call: fever, refractory pain, anuria.
  • Follow-up imaging: timeframe based on size/site (commonly 2–6 weeks).

Next steps if residuals: repeat SWL vs. URS based on size, location, patient preference, and anatomy.

Fast Troubleshooting

Poor visualization: switch modality; adjust patient tilt; treat bowel gas (positioning).

No fragmentation: re-center, improve coupling, drop frequency, modest energy uptick.

Pain limits ramp: pause, re-gel, analgesia top-up, resume at lower frequency.

A doctor explaining kidney stone prevention and healthy lifestyle habits to a patient.

Downloadables

Ramping card

Step-by-step guide for safe and effective energy escalation during SWL.

Pre SWL Checklist

Quick pre-procedure reference to ensure readiness, safety, and accuracy.

Patient Aftercare Handout

Simple patient instructions for recovery, hydration, and follow-up after SWL.

Download the Free SWL Ramping Protocol

Enter your email address and we will send the PDF directly to your inbox.

Download the Free Patient Care Handout

Enter your email address and we will send the PDF directly to your inbox.

Download the Free Patient Post SWL Care Handout

Enter your email address and we will send the PDF directly to your inbox.